The steps to setup the Mobi2Go Interface in Idealpos Online are outlined below.
Before the Mobi2Go Interface can be enabled in Idealpos Online, some information will need to be retrieved from the Mobi2Go Admin page.
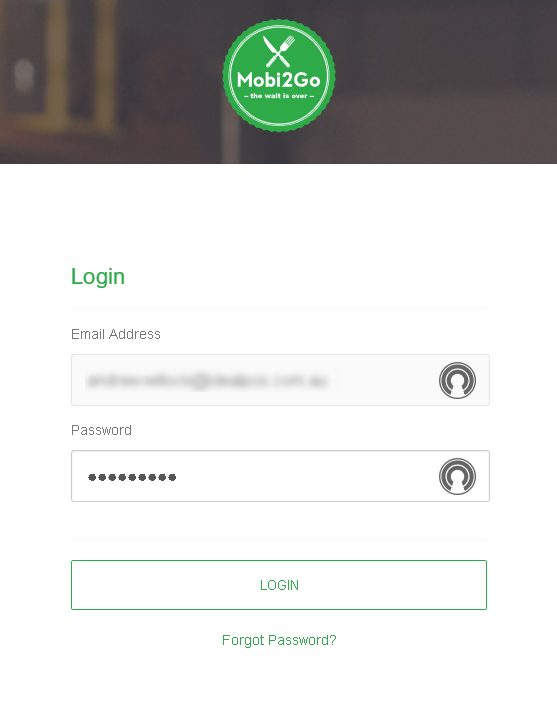
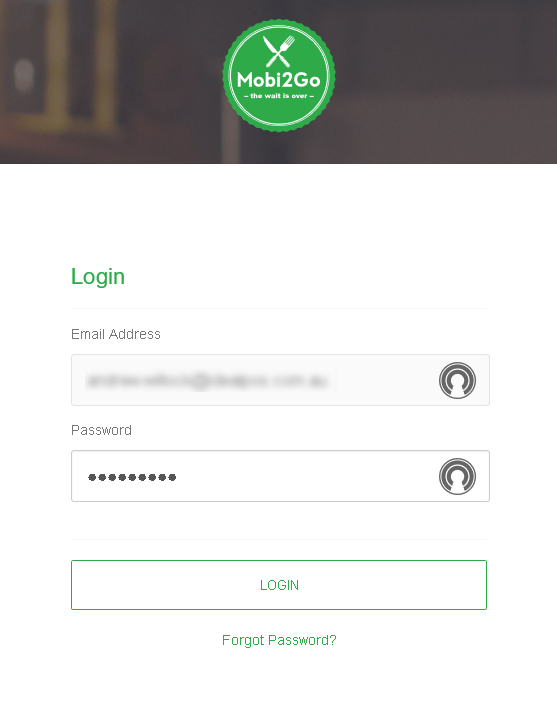
Go to www.mobi2go.com/admin
Enter the registered email address and password.
Once you have logged in, go to your store found under Stores and highlight it.
Some companies may have more than one store location so ensure that you select the correct store.
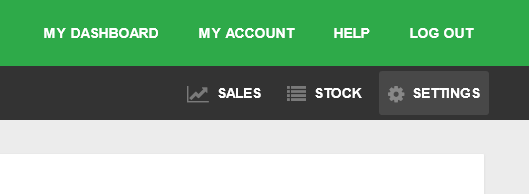
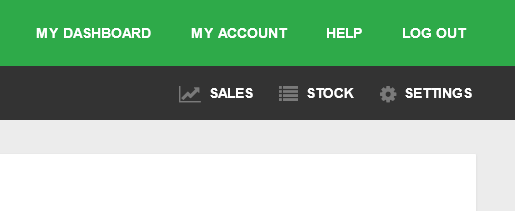
Next, click on "Settings" at the top right hand corner of the page.
Scroll down the page to find the API Keys section. This is the API Key that is required for the Idealpos Online eCommerce configuration.
Now that the API Key has been retrieved from Mobi2Go, it will need to be entered into the Add Service screen in Idealpos Online.
Either copy the API Key to the clipboard or save it to a temporary file somewhere on your system which you'll refer to when setting up the Mobi2Go integration in Idealpos Online further below.
In order to setup the Mobi2Go Interface in Idealpos Online, an ECommerce Interface needs to be added to your Idealpos Online Subscription. Doing this will enable access to the eCommerce tab in Idealpos Online.
If you've already added the eCommerce Interface to your Idealpos Online subscription and can see the eCommerce tab, you can skip this section and move onto the next section below which goes through setting up the Mobi2Go Interface.
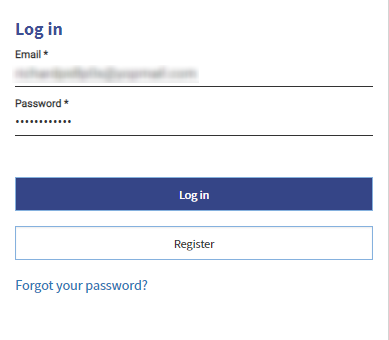
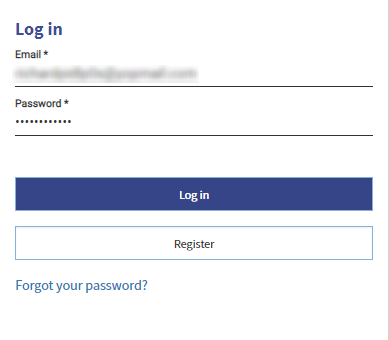
Login to Idealpos Online by going to https://online.idealpos.com.au/app/login
Enter the registered email address and password
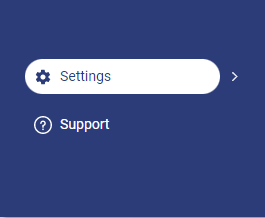
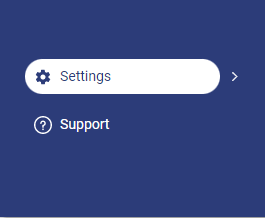
Once logged in, click on "Settings" located at the bottom-left corner of the page.
Within the Subscriptions tab, select the "Update Plan" button next to the Subscription that contains the Terminal which will process orders placed at the Mobi2Go site.
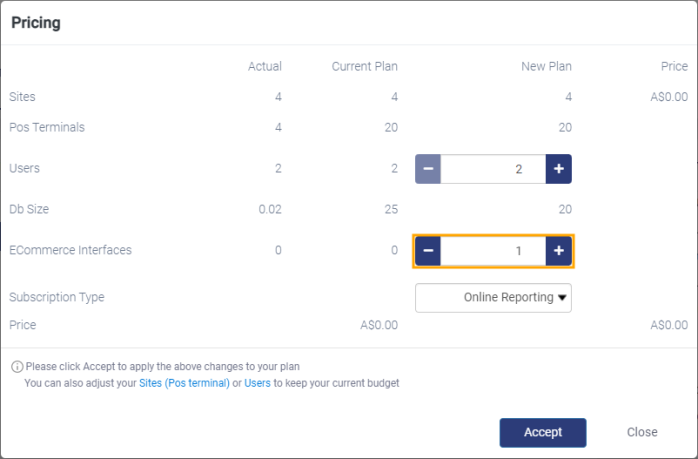
The Pricing screen will appear. Press the '+' button on the ECommerce Interfaces row to increase the ECommerce Interfaces to the number of required ECommerce Interfaces.
If required, the '-' button can be used to decrease the number of ECommerce Interfaces. Typically, you'll use one interface for each POS terminal. If you'll only use one POS terminal to process orders from a single eCommerce site, you'll only require one ECommerce Interface. If multiple terminals will be used to process orders that are placed via your eCommerce site, ensure that you select the required number of ECommerce Interfaces. Press the "Accept" button once you have finished selecting the required number of ECommerce Interfaces.
Shortly after accepting the change to your plan, an eCommerce tab will appear towards the side of the Settings page.
After the ECommerce Interface has been added to the Subscription, the eCommerce tab will become visible.
If you aren't already on the Idealpos Settings screen, click on "Settings" located at the bottom-left corner of the page.
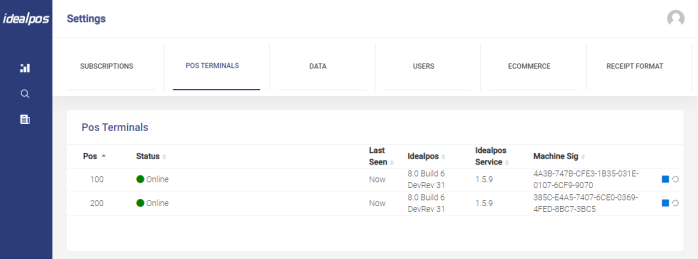
Click on the Pos Terminals tab.
Ensure that the Pos Terminal(s) you intend to use with Mobi2Go are currently in an Online state.
Should the Pos Terminals appear as Offline, check that they're turned on, have internet access and ensure that the Idealpos Service/Idealpos Upgrade Services are running.
Go to the eCommerce tab.
Click on the "Add Service +" button towards the top-right corner of the eCommerce tab to configure the Mobi2Go Interface.
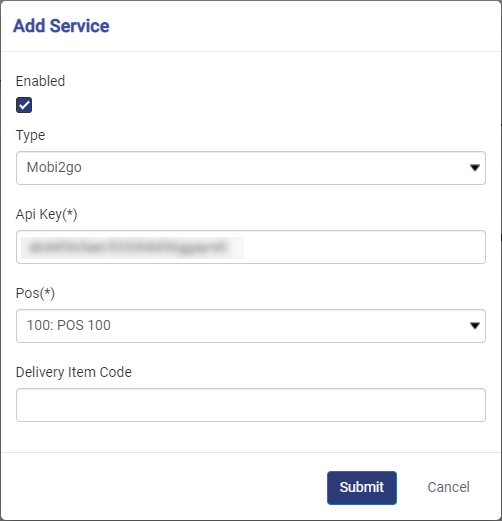
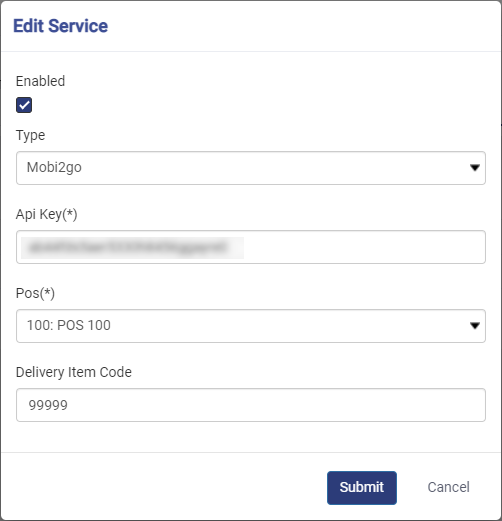
The Add Service screen will be displayed. Enter the required settings.
Enabled: Tickbox checked
Type: Mobi2Go
Api Key: Paste the API Key that was retrieved from the Mobi2Go site during the steps above.
Pos: Select the POS Terminal from the dropdown box which will be used to process orders placed on the Mobi2Go Site.
Delivery Item Code: Enter the Code for the Delivery item which will be used for delivery charges. This setting was previously referred to as the Shipping Item Code in Webit.
Once the required settings have been entered, press the "Submit" button.
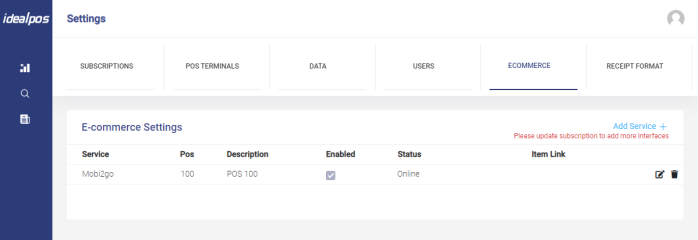
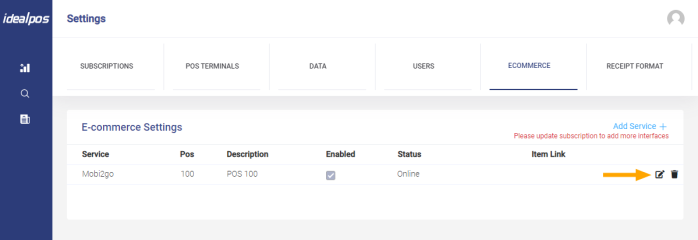
The e-commerce settings screen will be displayed and should now show the Mobi2Go Interface that was just created.
Provided that the terminal is turned on and has an internet connection, the status of the Mobi2Go interface should appear as Online.
Your POS terminal should now be ready to accept orders placed from the Mobi2Go site and the e-commerce settings screen should look similar to the below.
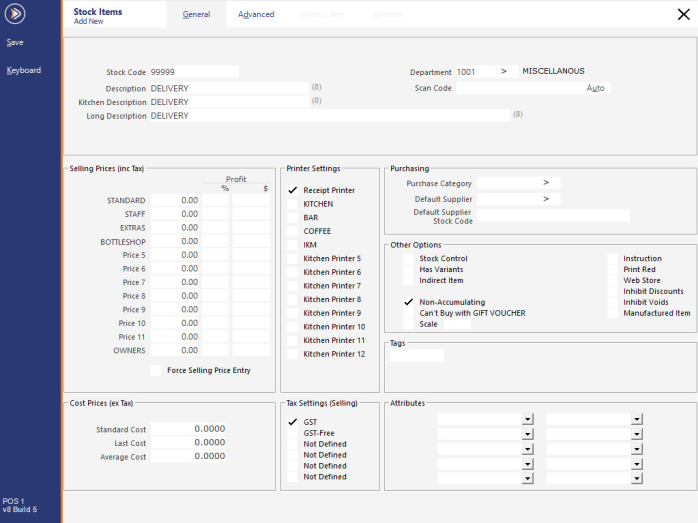
First create a stock item with a description of Delivery. In this example, we’ve used a Stock Code of 99999.
Login to Idealpos Online by going to https://online.idealpos.com.au/app/login
Once logged in, click on "Settings" located at the bottom-left corner of the page.
Click on the eCommerce tab, then click on the note icon next to the Mobi2Go Interface that you want to modify.
The Edit Service screen will be displayed.
Enter the Stock Item Code of the Delivery Item into the Delivery Item Code field then press the "Submit" button to save the change.
Login to www.mobi2go.com to set the costs of your delivery
Click on to any of your shops and this will take you to the store overview.
In the top right hand corner, click on the settings button.
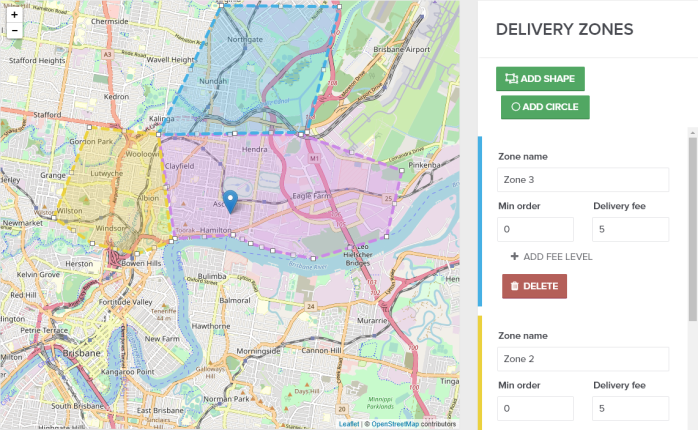
Scroll down the page until you see the delivery settings area and click on the edit button.
In here, you can add locations to your site and set your delivery charges for each site.
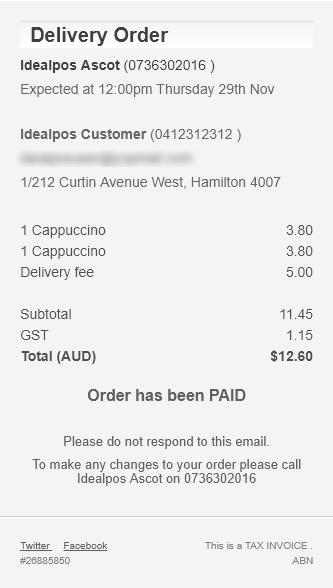
When an order comes in, the customer will receive an email delivery order invoice. The web order number will match the web order in Idealpos when processing the order. Below you can see the delivery costing in the delivery order invoice as well as the shop location.
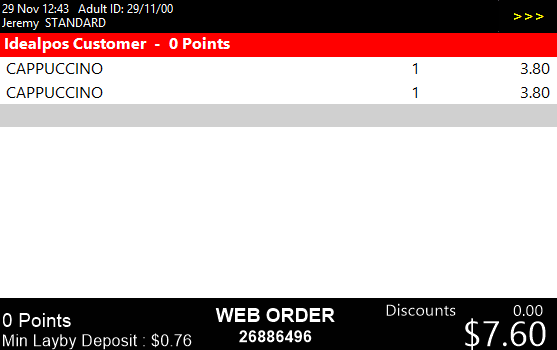
When the web order is processed in POS, you can see the stock items, the delivery and the matching web order number for the transaction.
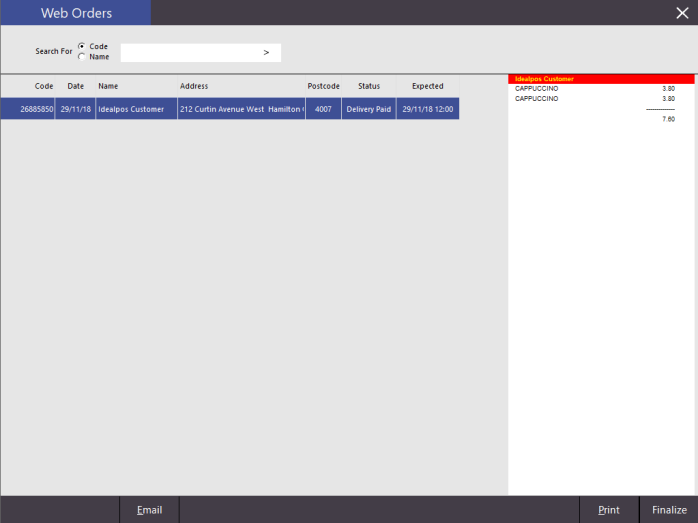
Note that a Webit order can only be processed in Idealpos if it hasn't been paid by the customer at the time they placed the order.
In Idealpos v7, a print button exists on the bottom-right corner of the Web Orders window that will allow a sales invoice to be printed.